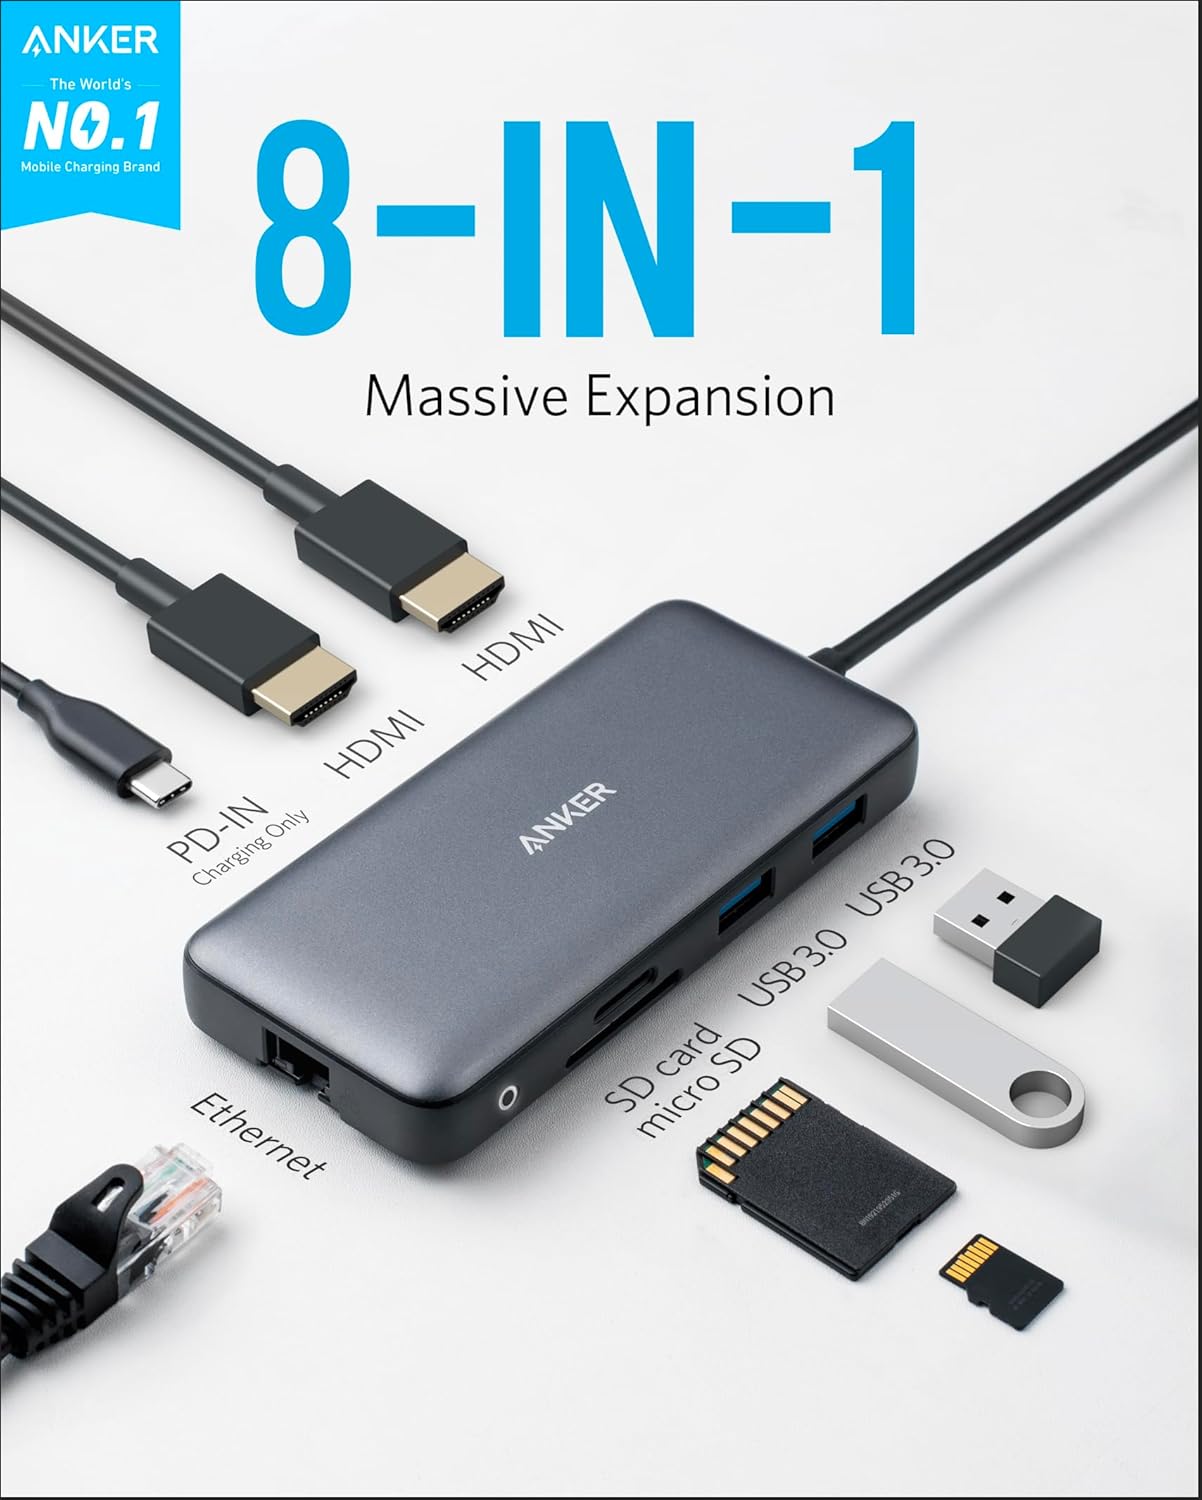
If you’ve ever looked at your desk and counted four different USB adapters, a drive plugged into a laptop port that’s already running warm, and a NAS (Network-Attached Storage — think of it as a personal server that lives on your desk and keeps your files) that you have to remember to check manually — you’re not alone. A docking station is a box that plugs into your laptop or desktop via a single cable and immediately gives you back a full array of ports: USB-A, USB-C, Thunderbolt, Ethernet, SD card slots, and more. For anyone managing a serious backup workflow — multiple external drives, a NAS, and one or more cloud services running in the background — a docking station isn’t a luxury. It’s the connective tissue that makes everything else actually work together.
This guide is written for the practitioner who already knows the basic 3-2-1 rule (three copies, on two different media types, with one offsite) and is now trying to operationalize it at a desk without losing their mind. We’ll cover how to evaluate docks for backup-specific workloads, what the bandwidth numbers actually mean for drive throughput, how to wire your NAS into the same hub, and when the math justifies stepping up to Thunderbolt 4 versus staying on USB 3.2.
| EDITOR'S PICK[Anker Prime Docking Station](https://www.amazon.com/dp/B088F7SY6S?tag=greenflower20-20) | Mid-tier[Plugable Universal Laptop Docki…](https://www.amazon.com/dp/B00ECDM78E?tag=greenflower20-20) | Budget pickUSB C Docking Station Dual Moni… | |
|---|---|---|---|
| Ports | 14 | — | 11 |
| Max output | 160W | — | 100W |
| Data transfer | 10Gbps | — | — |
| Displays | Dual 4K | Dual HDMI | Triple display |
| Audio | ✓ | ✓ | — |
| Price | $161.49 | $99.95 | $59.99 |
| See on Amazon → | See on Amazon → | See on Amazon → |
Why a Docking Station Changes the Backup Equation
Most photographers and video editors running multi-terabyte RAW or ProRes libraries hit the same friction point: backup only happens when it’s convenient, and convenience is exactly what a fragmented port setup destroys. The drive that lives in the drawer doesn’t get backed up. The one plugged into the side of a hot laptop tends to get yanked during a session. Regularity is the whole game — and regularity requires that every component in your backup chain is present, connected, and ready without a setup ritual.
A dock changes the default state from “disconnected” to “connected.” Sit down, plug in one cable, and your entire backup topology is live: the primary working drive is mounted, the local backup drive is spinning, the NAS is reachable over Ethernet, and your cloud client is syncing in the background. That single-cable discipline is what turns a 3-2-1 architecture from a diagram on a whiteboard into something that actually runs daily.
But not all docks are created equal, and the wrong one introduces bottlenecks that are invisible until you’re mid-transfer and watching a progress bar that suggests you’ll be there until next Tuesday.
Bandwidth Is Not a Marketing Number — It’s a Throughput Budget
Here’s where practitioners need to be precise. A docking station’s primary connection to your computer — whether Thunderbolt 4, USB4, USB 3.2 Gen 2x2, or plain USB 3.2 Gen 2 — determines the total bandwidth available to every device plugged into that dock. Every drive, every peripheral, every SD card reader is sharing that pipe.
By the numbers:
| Connection Standard | Theoretical Max | Real-World Sustained (shared) |
|---|---|---|
| USB 3.2 Gen 2 (10 Gbps) | 10 Gbps | ~700–900 MB/s, rapidly derated under multi-device load |
| USB 3.2 Gen 2x2 (20 Gbps) | 20 Gbps | ~1.4–1.8 GB/s under moderate load |
| Thunderbolt 4 / USB4 40 Gbps | 40 Gbps | ~3.0–3.5 GB/s sustained, multiple simultaneous drives |
Per Ars Technica’s breakdown of Thunderbolt 4 versus USB4, the 40 Gbps ceiling is the meaningful differentiator when you’re writing to two drives simultaneously — which is exactly what a real backup workflow does. If your dock sits on a 10 Gbps connection and you’re simultaneously reading a source drive and writing to two backup destinations, you’re splitting ~700 MB/s three ways. That’s the hidden cost in a mid-range dock.
PCMag’s roundup of USB-C and Thunderbolt docking stations consistently flags this: budget docks using USB 3.2 Gen 2 hubs are fine for peripherals and a single working drive, but fall apart as multi-drive backup hubs. Wirecutter’s Thunderbolt dock coverage reaches the same conclusion — if simultaneous multi-drive transfers are the use case, the Thunderbolt 4 price premium pays for itself in time saved across a year of daily backups.
The practical rule: If you’re ever writing to more than one external drive at the same time — even occasionally — budget for a Thunderbolt 4 dock. If your workflow is truly sequential (one drive at a time), a well-built USB 3.2 Gen 2x2 dock in the $80–$150 range may be entirely sufficient.
Wiring Your NAS Into the Hub — and Where Ethernet Matters
A NAS like the Synology DS923+ doesn’t connect via USB — it connects via Ethernet (the same kind of cable your home router uses). Most quality docking stations include at least a 1 Gigabit Ethernet port, and a growing number include 2.5 Gigabit Ethernet (2.5 GbE), which is currently the sweet spot for prosumer NAS use.
Here’s why this matters: a 1 GbE port maxes out at approximately 125 MB/s in real throughput — enough for most LAN-based backup tasks, but a bottleneck if you’re running Time Machine or rsync across a large library and also writing to a local external drive through the same dock simultaneously. A 2.5 GbE port (available on higher-end docks from manufacturers like CalDigit and OWC, as reviewed in Tom’s Hardware’s best docking stations roundup) delivers roughly 280–310 MB/s sustained, which aligns much more cleanly with the write speeds of NAS arrays using Seagate IronWolf or WD Red drives — the standard recommendations for NAS duty, per TechRadar’s NAS drive coverage.
If your existing router doesn’t support 2.5 GbE, a 2.5 GbE dock port is wasted potential for now — but it’s still a sensible future-proof specification to have. Routers with 2.5 GbE ports have come down significantly in price through 2025–2026.
Practical implication for your current setup: If your NAS and dock are both 2.5 GbE-capable but your router is only 1 GbE, connect the NAS directly to the dock’s Ethernet port and let the dock bridge the connection to your computer. Some dock firmware supports this; check the manufacturer spec sheet explicitly before assuming.
Cloud in the Background: Don’t Forget the Upload Tax
The third leg of the 3-2-1 architecture — offsite cloud backup — is where most desk setups quietly bleed efficiency. Cloud clients like Backblaze Personal Backup, Backblaze B2 via Cyberduck, or Wasabi with Arq all run as background processes. They consume CPU, consume RAM, and — critically — consume your upload bandwidth.
Per Backblaze’s own documentation on the 3-2-1 backup strategy, the offsite copy is the one that saves you from catastrophic loss. But if your cloud backup client is hammering your uplink while you’re also trying to do a local drive-to-drive transfer through the dock, you’ll see degraded transfer speeds on both paths.
The practical fix is a scheduling discipline, not a hardware fix: configure your cloud client to run during off-hours. Backblaze Personal Backup, iDrive, and most business-tier clients support scheduled upload windows. Treat cloud upload as a background maintenance job that runs when the desk is dark — not a simultaneous workload competing with your local transfers.
This also connects to something that doesn’t get discussed enough in dock reviews: restore cost visibility. Cloud egress fees — the cost to download your data back out of cloud storage when you actually need it — vary significantly by provider. Wasabi charges no egress fees as of mid-2026. Backblaze B2 charges $0.01/GB for egress beyond free thresholds. If you’re storing 10 TB in B2 and need a full restore, that’s a $100 egress bill in addition to any download time. Know this number before you commit to a cloud tier.
Building the Decision Frame: Which Dock for Which Workflow
The practitioner’s question isn’t “what’s the best dock” in the abstract — it’s “which dock fits my actual topology.” Here’s the if/then framework:
If your primary bottleneck is simultaneous local transfers (source drive → backup drive 1 → backup drive 2): Look at Thunderbolt 4 docks in the $200–$350 range. Published specs from CalDigit’s TS4 and OWC’s Thunderbolt Hub 4 (as covered in PCMag and Wirecutter) put both in this tier. The bandwidth headroom is the value, not the port count.
If your primary bottleneck is NAS throughput and you have a clean local drive setup: A 2.5 GbE-equipped dock in the $100–$200 range does the job. Don’t overpay for Thunderbolt 4 bandwidth you won’t use if your bottleneck is always going to be the Ethernet link to the NAS.
If you’re on an M-series MacBook Pro or a Thunderbolt 4-equipped Windows laptop: Your machine already has 40 Gbps Thunderbolt 4 ports. A Thunderbolt 4 dock is plug-and-play at full spec. A USB-C-only dock will downgrade the connection — not ruin it, but cap it below what the machine is capable of. PCMag’s testing notes consistently show that connecting a Thunderbolt 4 dock to a Thunderbolt 4 host always outperforms USB-C-only docks on multi-device transfer scenarios.
If you buy external drives from Amazon: This is worth flagging explicitly. Counterfeit and gray-market drives have been documented in Amazon’s third-party marketplace — including drives reporting false capacities. For any drive entering your backup chain, buy directly from the manufacturer’s storefront, from B&H Photo, Adorama, or a major authorized retailer like Best Buy or B&H. This applies to bare drives you might use in a multi-bay dock enclosure, not just portable drives.
The One Step Most Desk Setups Skip
No matter how clean your dock setup is, a backup that has never been restored from is not a backup — it’s a hope. Build a restore test into your calendar. Once a month, pull a randomly selected folder from your oldest backup drive and verify it opens correctly. Once a quarter, do a partial restore from your cloud storage to a temporary location and confirm the files are intact.
This takes fifteen minutes if everything is working. It takes fifteen seconds to discover a corrupted drive array, a lapsed cloud subscription, or a sync client that silently stopped running six weeks ago. Untested backups are the most common single point of failure in otherwise well-designed setups — and a beautiful docking station with four drives hanging off it won’t tell you that one of them failed to mount last Tuesday.
The Bottom Line
A Thunderbolt 4 dock is the right hub for any workflow where simultaneous local drive transfers are part of the regular routine — creative professionals with multi-terabyte libraries, anyone running rsync to a NAS while also writing a local backup, anyone who wants the full bandwidth ceiling for future hardware. A well-specified USB 3.2 Gen 2x2 dock with 2.5 GbE handles the workload cleanly if your transfers are mostly sequential and your bottleneck is the NAS link.
The desk setup itself isn’t the strategy — it’s just the tool that makes the strategy run daily. Know your bandwidth budget, schedule your cloud uploads off-peak, verify your egress costs before you’re in a disaster scenario, and test a restore before you need one.